Now in the case of something small like earphones, the purchase won’t break the bank or anything like that but it will clutter up my house. Especially when I found several pairs of very good ear buds while cleaning and organizing my desk. It was a good surprise because I can keep a pair in my gym and dance bag, in my purse, my desk, etc.
Keep reading for my step by step painted earphone tutorial!
So why am I tempted in the store while staring at a rack of cheapola 5 dollar ear buds that probably sound worse than the good ones I love and use?
I’ll tell you why. The cheapie headphones are in pretty and cute colors. The spendy and great sounding earphones are plain Jane black.
How to Make Cute Earphones
You will need:
Earbuds
120 grit sandpaper
Craft paint that works on plastic
Paint brush
Water
Optional: Straight pin and a pencil with an eraser
Make it:
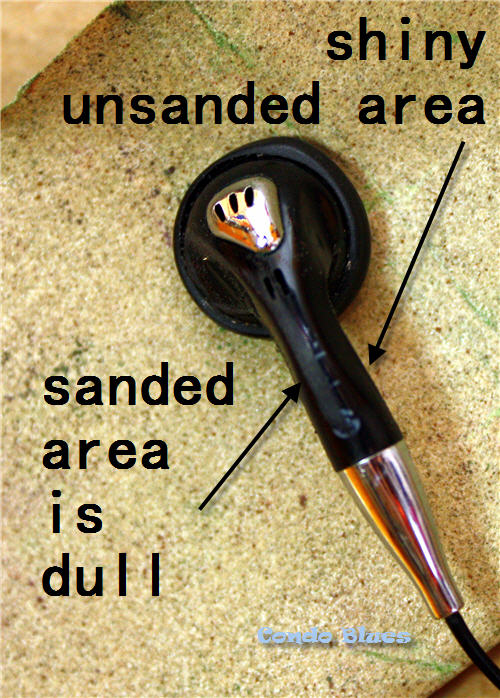
1. Use the sandpaper to lightly sand and rough up the plastic surface of your headphones. You don’t need to deep sand for hours, just removing the glossy finish will be enough to allow the paint to stick to the plastic.
Sanding time!
2. Use the paint and paintbrush to paint a base coat on your earphones and allow the paint to dry. I used three coats of paint to cover my black ear buds. You might need more or less depending on the color you are covering and the color paint you want to use.
Painting time!
3. To paint polka dots, make a dotting tool by sticking a straight pin in a pencil eraser. So high tech!
Polka dots make me happy.
4. Wait for the paint to dry and cure.
5. Plug in your cute DIY earphones and jam on!
TIP: Protect your earphones by decorating an old pill bottle with washi tape and use it as an earphone case!
Did you enjoy this post? Get more like it by subscribing to the Condo Blues RSS Feed or to Condo Blues by Email.


No comments :
Post a Comment
I love comments and read them all! If you’re shy and don’t want your opinions made public, you can always email me at condoblues [at] gmail [dot] com.